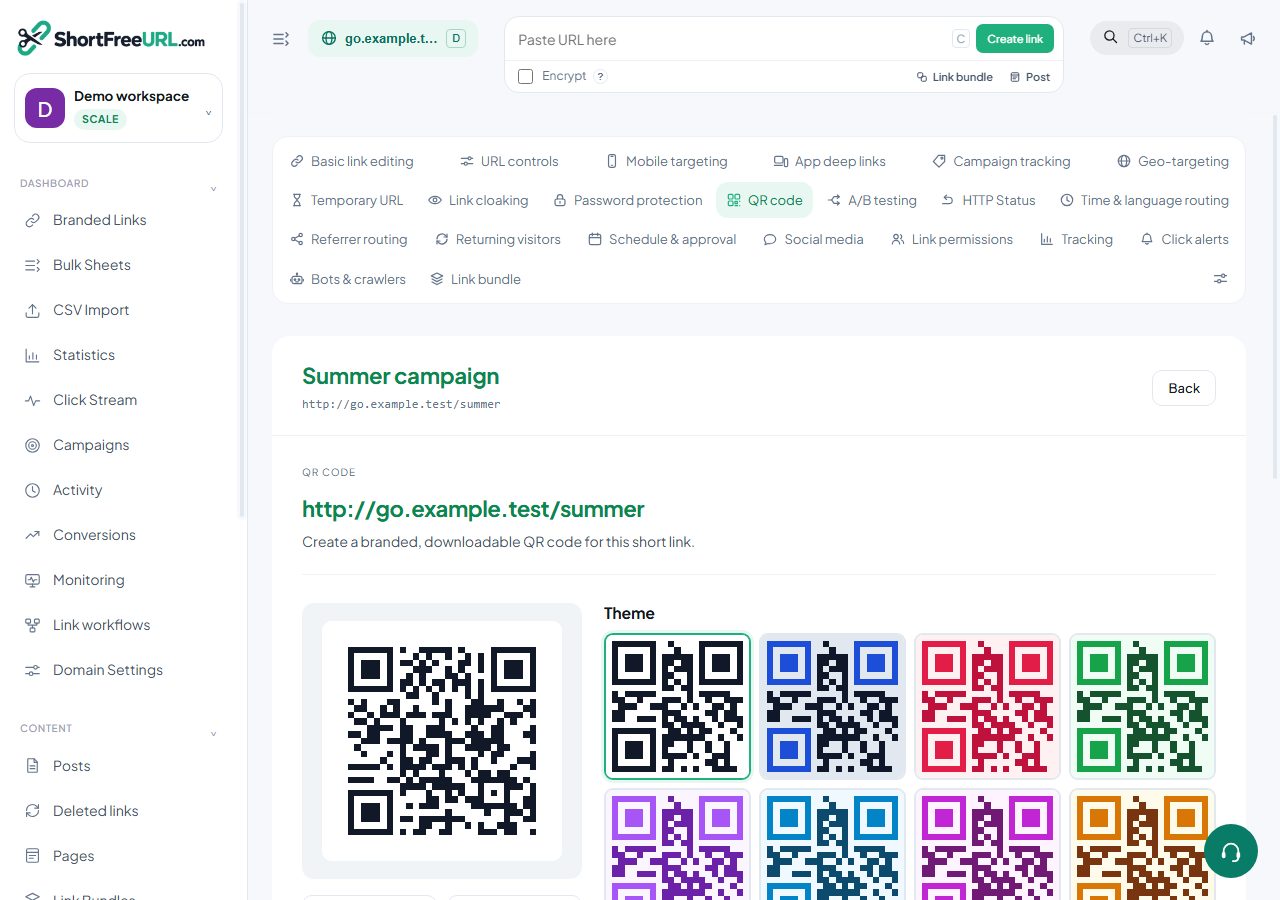
A QR code is readable because a scanner can reconstruct damaged parts of it. How much damage it tolerates is the error-correction level, and every design decision trades against it.
The four levels
- L — around 7% of the code can be lost.
- M — around 15%. The default, and right for most on-screen and print use.
- Q — around 25%.
- H — around 30%. Use this whenever anything sits on top of the code.
Higher correction means more modules for the same data, so the code gets denser. A dense code printed small is harder to scan than a sparse one, which is the trade: correction protects against damage, density fights against small sizes.
Logos
Adding a centre logo raises the level to H automatically, because the logo is destroying part of the code. Keep the logo under about a fifth of the code's width. A logo that covers a third of the area will pass a preview on a bright phone screen held still, and fail on a printed poster in bad light.
Logos are limited to 400 KB and must be an image the browser can read. A simple mark with a solid background works far better than a detailed photograph.
Contrast and colour
Scanners look for dark modules on a light background. The rules that matter:
- Keep the foreground genuinely dark and the background genuinely light. A mid-grey on white is the most common cause of an unreliable code.
- Do not invert — light modules on a dark background fail on many scanners.
- Avoid gradients across the whole code, and never place a code on a photograph.
- Keep the quiet zone. The white margin around the code is part of the code.
Test before you commit
Test with more than one phone, at the real distance, in the real light. A code on a restaurant table is scanned in dim light by a phone held at arm's length; a code in a slide deck is scanned from the back of a room. Both are harder than the preview on your monitor.
If a code is going to print in volume, print a proof first and scan the proof. A design that works on screen and fails on uncoated paper is a common and expensive discovery.
Find this in your dashboard
- Sign in and select the workspace and domain you want to manage.
- Open QR code. Review the article’s steps and your plan’s available controls.
- Save your changes, reopen the record and verify the saved result. For routing changes, check the short link with a test visit.