What this setup connects
Open Admin → Amazon AWS setup. The checklist brings together four separate AWS services: EC2 for your public redirect server, Route 53 for optional DNS hosting, SES for outgoing email, and WorkMail for the support inbox. S3 can hold private backups. Paying for or signing in to AWS does not automatically configure these services. Use the secure admin forms; do not put access keys, mailbox passwords or account passwords in chat or tickets.
1. Host the redirect service and automatic SSL
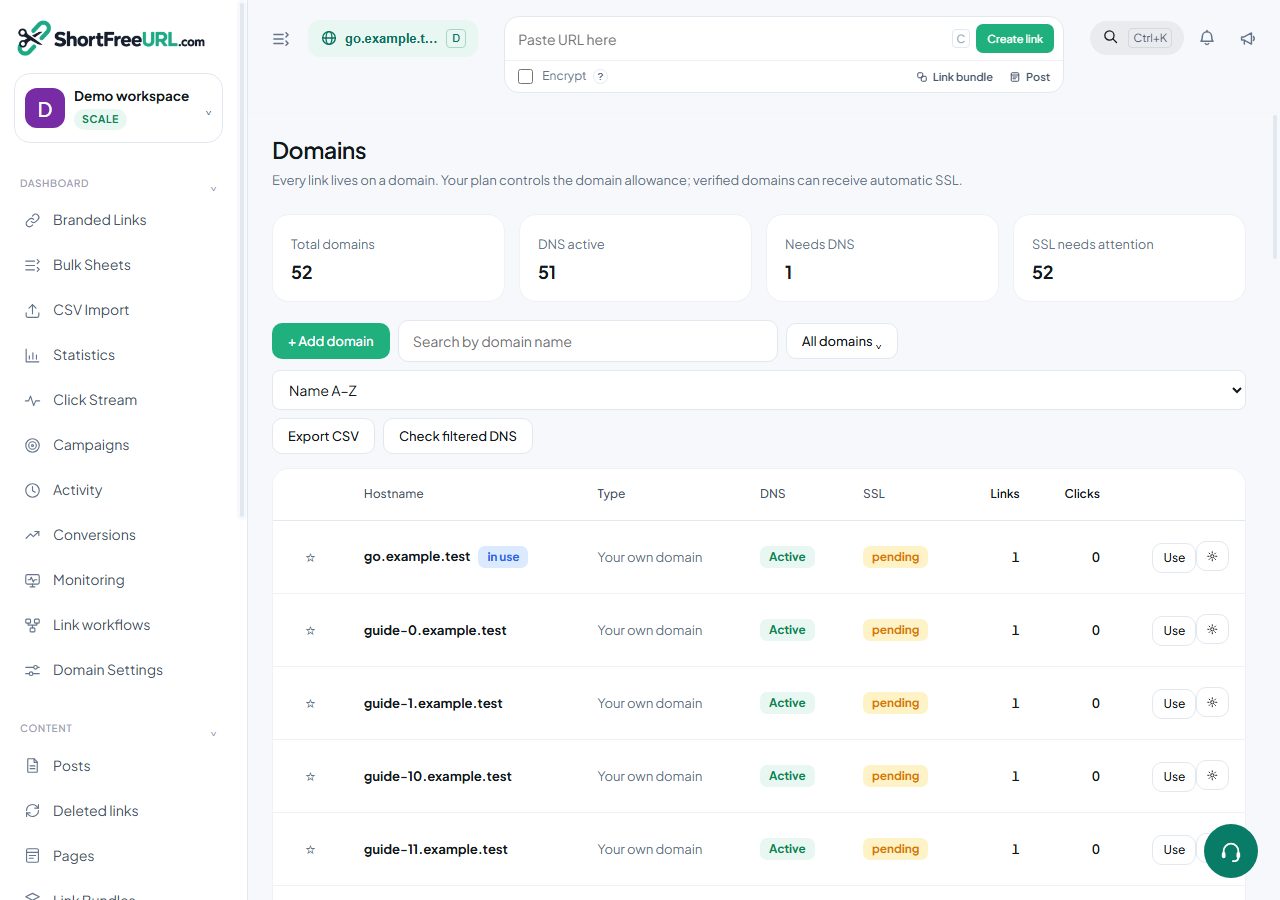
Create an EC2 instance and assign a stable Elastic IP. Run this application and the Caddy HTTPS proxy on that instance. Permit public TCP ports 80 and 443 in the instance security group. Keep the application port and Caddy admin API private. Point your chosen CNAME target, such as edge.yourbrand.com, to the Elastic IP. In Admin → Domain hosting & SSL, enter that real public IPv4, the CNAME target and a certificate-contact email; download and deploy the generated Caddyfile. Persistent Caddy storage is required for certificate renewal. The app checks DNS and a trusted HTTPS certificate separately and does not mark an unverified domain live. This admin screen guides deployment; it does not provision an EC2 instance.
2. Decide where DNS will live
AWS hosting does not require Route 53. If your domain uses Namecheap DNS, keep the nameservers there and edit its DNS records at Namecheap. To use Route 53, create a public hosted zone, copy all website, MX, TXT, verification and other existing records, then change the domain nameservers at the registrar to the four NS values in Route 53. Check the site and email before removing the old zone. A private hosted zone cannot serve public short links.
3. Connect Route 53 from admin
In AWS IAM, create a dedicated identity with access only to the zones you will use. It needs route53:ListHostedZones to connect, route53:ListResourceRecordSets to inspect records and route53:ChangeResourceRecordSets to add short-link CNAME records. Enter its access key ID and secret key in Admin → Amazon AWS setup → Route 53. The app verifies the key by listing zones and stores the secret encrypted. Choose a public, delegated zone and a free prefix such as go. The app checks for conflicts, then creates go.yourbrand.com and *.go.yourbrand.com CNAMEs pointing to the configured short-link target. It does not overwrite a different existing record. The domain remains pending until public DNS and HTTPS checks pass. Then choose Offer to customers to enable claims such as brand.go.yourbrand.com. Route 53 IAM permissions.
4. Connect Amazon SES for outbound mail
In the SES region you will use, verify your sender domain or address and publish the DKIM records SES gives you. Request production access if the account is still in the sandbox. Create a dedicated IAM key for SES sending and enter its key ID, secret, region and verified From address in Admin → Amazon AWS setup → SES. Use Send test email to admin to verify actual delivery. The app uses the SES API; SES SMTP credentials are different and are not used in this form. SES does not provide an IMAP inbox. SES identities · Production access.
5. Connect Amazon WorkMail for support replies
Create a WorkMail organization and mailbox. Add and verify its email domain, then publish the exact MX, TXT and CNAME records WorkMail shows in the authoritative DNS zone; preserve unrelated records. Open Admin → Amazon AWS setup → WorkMail. Enter the mailbox address, its AWS region and mailbox password; this is not an IAM secret key. The form configures region-specific IMAP port 993 and SMTP port 465. It tests IMAP before enabling inbox sync. Open Admin → Mailbox to check incoming messages, outbound SMTP and AI reply settings. WorkMail IMAP/SMTP endpoints documented by AWS are us-east-1, us-west-2 and eu-west-1; choose the region where your mailbox exists. See the WorkMail IMAP/SMTP guide. If WorkMail is not yet set up, leave mailbox settings blank; SES can still send transactional mail.
6. Connect S3 backups
Open Admin → Platform services → Storage & backups and connect a private S3 bucket. Test a backup upload and confirm retention, encryption and recovery in AWS. DNS, email and S3 use separate permissions so a leaked sending key cannot edit DNS or read backups.
7. Verify every layer
Check EC2 health and Caddy logs, public A/CNAME resolution, each selected domain’s DNS and SSL status, an HTTPS test short link, the SES admin test email, WorkMail inbox sync and one support reply, plus an S3 backup and restore drill. DNS delegation can take time; certificates are issued only after the hostname reaches the public proxy. Never reuse example IP addresses or delete unrelated DNS records.
Find this in your dashboard
- Sign in and select the workspace and domain you want to manage.
- Open Domains. Review the article’s steps and your plan’s available controls.
- Save your changes, reopen the record and verify the saved result. For routing changes, check the short link with a test visit.